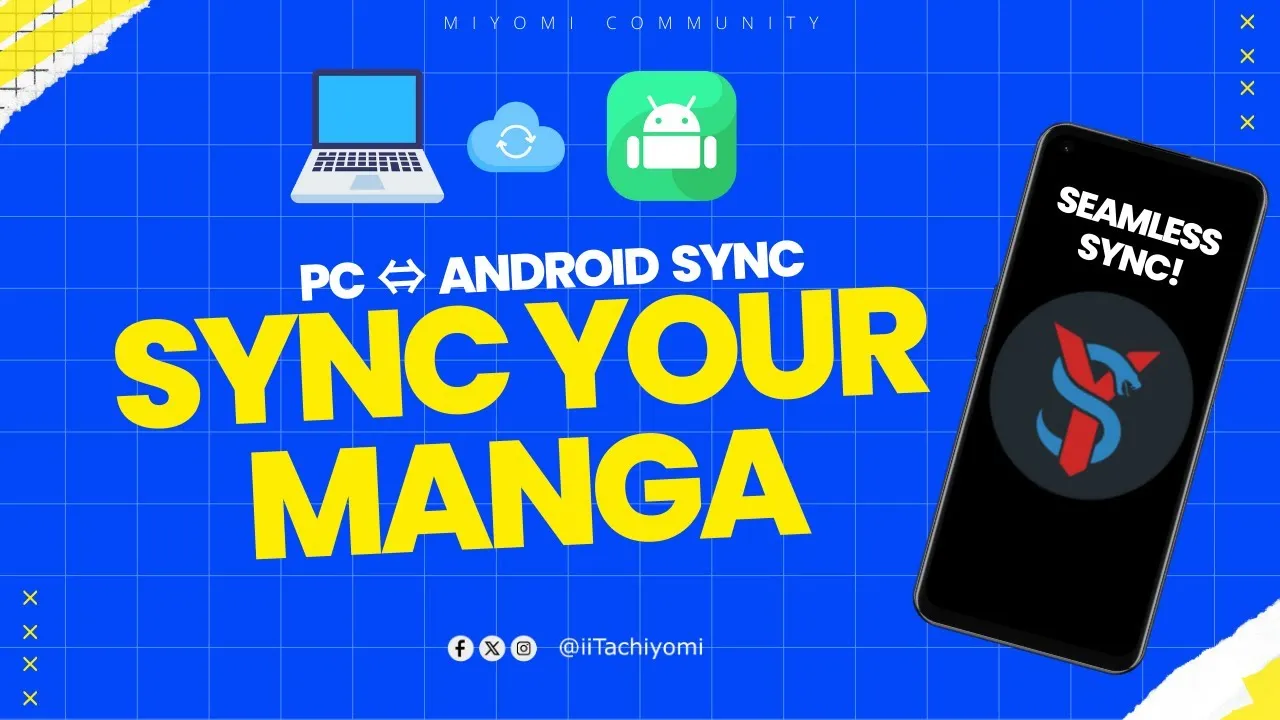
Welcome! If you are a dedicated manga reader who uses multiple devices, you know the frustration of losing your reading progress when switching from your Android phone to your PC or tablet. Fortunately, SyncYomi offers a self-hosted synchronization solution that keeps your entire library, history, and categories perfectly aligned.
In this full tutorial, we’ll be showing you how to set up the SyncYomi server on a Windows machine and seamlessly sync your library between multiple devices running a compatible Android app (like TachiyomiSY or Kotatsu).
What You Will Need
- PC: Any PC running Windows (this tutorial focuses on Windows).
- Android App: An app that supports the SyncYomi service (e.g., TachiyomiSY, Kamaku).
- Network Connection: A single local network connection (Wi-Fi or Ethernet) to connect the PC and the mobile devices.
Setup the SyncYomi Server on Windows
Step 1: Download and Extract SyncYomi
- Search for SyncYomi on your favorite search engine (GitHub is the primary source).
- Head over to the Releases page and pick the file specified for your Windows platform (usually an executable).
- Once the download is finished, open the file and extract it to a dedicated directory (e.g.,
C:\SyncYomiServer).
Step 2: Initialize and Configure the Server
- When starting the SyncYomi executable for the first time, Windows Smart Screen will likely pop up. Just click More info and then click Run anyway to initialize and extract a few things.
- Note: If there’s a prompt about allowing public and private networks to access the app, just click Allow.
- Let it run for a few seconds and then close it.
Step 3: Find Your PC’s IP Address
The server needs to know its network address so your phone can find it.
- Open a new Command Prompt or PowerShell window.
- Type
ipconfigand press Enter. - Locate your active network adapter (e.g., “Ethernet adapter” or “Wireless LAN adapter”) and find the IPv4 Address. Copy this IP address to your clipboard.
Step 4: Edit the Configuration File
You must tell the server to listen on your network address.
- Navigate to the SyncYomi directory and find the
config.tomlfile. Open it with a text editor (like Notepad). - Change the IP address placeholder inside the file to the one you copied earlier from
ipconfig. - Don’t forget to save the file!
Step 5: Start the SyncYomi Server
- Restart the SyncYomi executable again. This now allows it to connect to the other clients in the network.
- Keep this console window running in the background—it is your active server.
Step 6: Create User Credentials and API Key
You will manage the server through a web interface.
- Open a new tab in your web browser.
- Type the IP address you found in Step 3, followed by a colon and the default port number:
http://[Your.IP.Address]:8282- (The default port number is 8282).
- From here, you will be prompted to set a new username and password for SyncYomi.
- Once you’re on the main interface, click on the API keys section.
- Click Add API Key.
- Enter a memorable name and click Create.
- Congratulations, the server is set up! You now have the necessary API Key to link your mobile devices.
Configure Android Clients (Tachiyomi)
You will now link your mobile devices to the server you just created.
Step 1: Copy the API Key
- On your mobile device’s web browser, go to the same SyncYomi web interface:
http://[Your.IP.Address]:8282. - Log in using the credentials you set up.
- Go to the API keys section.
- Tap the copy button next to the API key you created.
- If it errors out, tap Show, select all, and then tap Copy to copy the full key to the clipboard.
Step 2: Configure the Service in Tachiyomi
- Open your Tachiyomi app | Download Tachiyomi Here.
- Go to the More tab $\rightarrow$ Settings.
- Navigate to Data and storage.
- Scroll all the way down until you see the Service section, and tap on that.
- Select SyncYomi.
- Enter your credentials:
- Host Box: Enter the IP address and port of your server (e.g.,
http://192.168.1.xxx:8282). - API Key: Just tap Paste to insert the key you copied from the web browser.
- Host Box: Enter the IP address and port of your server (e.g.,
Step 3: Perform the Initial Sync
- On the Choose what to sync prompt, check what is applicable to your scenario (e.g., Library, History, Categories).
- Once everything is set up, tap on Sync now to perform the primary synchronization.
- Wait for a while until it’s completed.
Step 4: Configure the Second Device
To sync a second device, simply repeat Steps 1-3 using the same Host address and the same API key. Using a different API key will result in a separate library on the server.
- When the second device syncs, it will start the restore process, pulling all the library contents, history, and categories from the server and populating your empty library.
You can now check out your library on both devices. As you will see, both libraries and your reading progress are synchronized successfully! Thanks for Reading