
In today’s guide, we’ll talk about how to install and set up Tachiyomi on a PC using Windows. So, follow all the steps carefully. We will discuss everything step by step, including everything you need to download, install, and set up Tachiyomi properly, along with installing its extensions and more.
What is Tachiyomi?
If you’re new to Tachiyomi, it is an Android app that lets you create your own manga library and read your favorite manga. You can access and enjoy manga easily through the app. Just like PDF readers are used to read PDFs and video players are used to play videos, Tachiyomi works as a manga reader. You can read and enjoy manga both online and offline—it’s completely your choice.
- Tachiyomi lets you create a personal manga library.
- You can read manga both online and offline.
Step 1: Install an Android Emulator
To do this, you will need an Android emulator. There are a lot of emulators out there; I personally use BlueStacks as my go-to Android emulator.
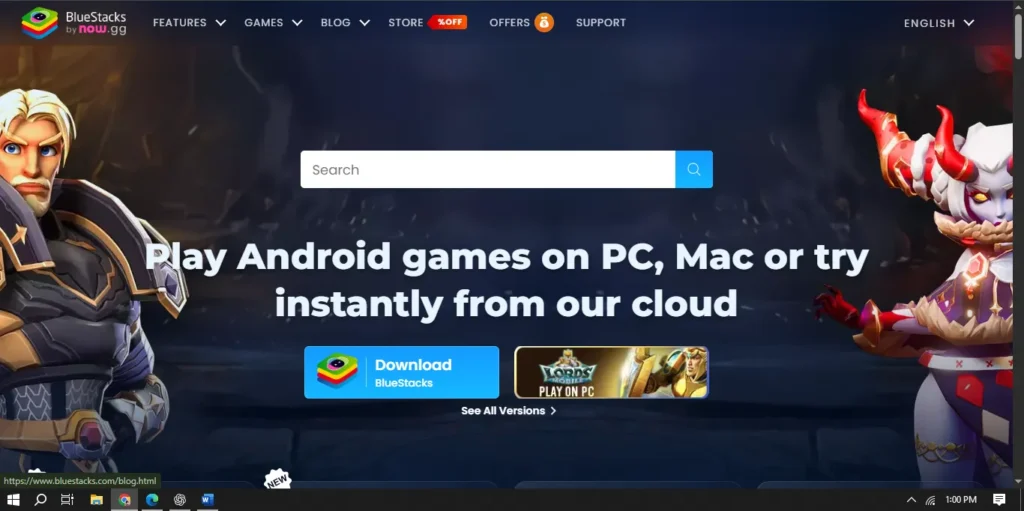
How to Download BlueStacks
To download it, open your web browser and search for BlueStacks. Now open the official BlueStacks website from this link. On this page, click Download, and your download will start.
- Use BlueStacks as an Android emulator.
- Download it from the official website.
Installing BlueStacks
Once it’s downloaded, install the BlueStacks software on your PC. I already have it on my system, so it’s just showing me to update to the latest version. Make sure that your PC meets the requirements for running the emulator beforehand. Though, it will work just fine as long as you don’t have a potato for a PC.
Points:
- Install BlueStacks and check your system requirements.
- A decent PC is needed for smooth performance.
Step 2: Download Tachiyomi on BlueStacks
Now I will fast forward the video to the point where the update is complete. It’s done updating and now it’s preparing to launch. This is the screen that you will see when you use the software for the first time.
Use Chrome to Download Tachiyomi
Now go to System Apps and open Chrome. Here, search for Tachiyomi. Open the link and download the stable version of the app from the official web page. Once the download is complete, install the app and you’re good to go.
Points:
- Use Chrome inside BlueStacks to search and download Tachiyomi.
- Always get the stable version from the official page.
Open Tachiyomi
Now press Escape to go to your home screen and open Tachiyomi. This time I will show you the most basic things that you need to know in order to read manga on Tachiyomi.
Points:
- Access Tachiyomi from the BlueStacks home screen.
- Learn the basics of using Tachiyomi on PC.
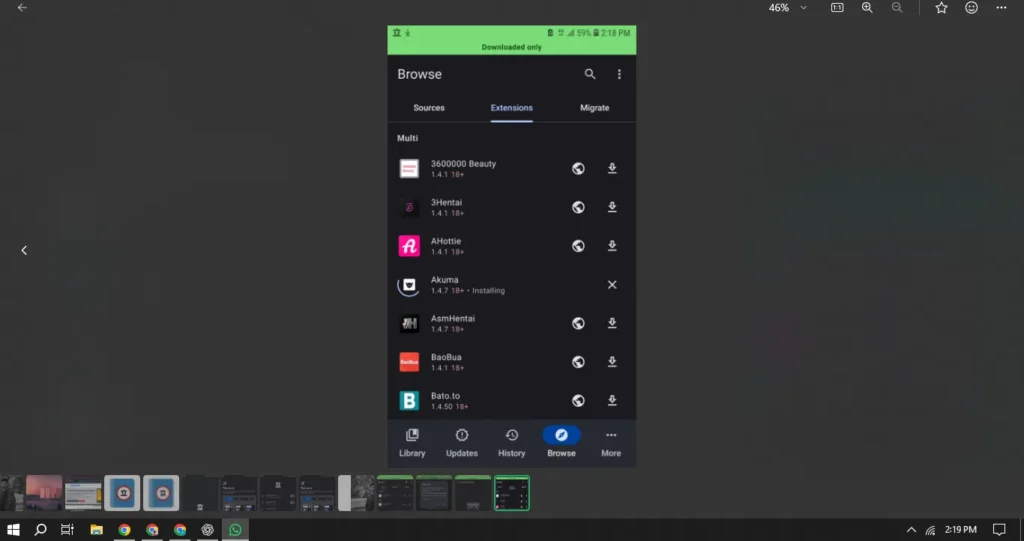
Step 3: Add Manga Sources (Extensions)
For those who already use Tachiyomi on their smartphones, it will be much easier to use this app on PC. And for those who are new to this, you can watch other videos on my channel related to Tachiyomi. I will put the playlist of Tachiyomi on the top right corner so you can also watch it from there.
Installing Extensions
What you need to do in order to read a manga is to add an extension of a manga reading website which will act as a source for your library. Go to Browse, then open Extensions. Here you can choose any extension that you want and click on Install.
Points:
- Extensions are required to fetch manga from different sources.
- Go to Browse → Extensions to install sources.
Recommended Extensions
I would recommend installing MangaDex and MangaHub for now, but you can experiment with the others later on.
Points:
- MangaDex and MangaHub are great starting points.
- More extensions can be added later.
Step 4: Add Manga to Your Library
Now go to the Sources and open any of the installed extensions. Here you can find any manga that you want to read. When you find the one that you want to read, just open the manga and click on Add to Library.
Points:
- Search and find your favorite manga from the source.
- Add them to your personal library with a single click.
Start Reading Manga
Now go to your Library and open the manga that you just added. Scroll down and then click on the first chapter to start reading. Or you can click on the Start button right at the bottom.
Points:
- Open any manga in your library to start reading.
- Use the Start button or click chapters directly.
Step 5: Organize Your Library with Categories
If you want to organize your library better, you can create sections inside it called Categories. To do this, go to More, then click on Categories.
Creating and Naming Categories
Here you can create different sections in your library and name them whatever you want. As you can see here, I will add three categories named Manga, Manhua, and Manba.
Points:
- Create custom categories to organize your manga.
- Name them as per your reading preferences.
Add Titles to Categories
Now I will add a few different titles to the library and organize them into different categories. There you go! Now just enjoy reading your favorite manga.
Points:
- Assign titles to their respective categories.
- Keeps your library neat and accessible.
Bonus Tip: Desktop Shortcut for Quick Access
One thing that I forgot to mention is that BlueStacks will create a shortcut on your desktop for quick access to Tachiyomi. It’s a faster way to open Tachiyomi in BlueStacks instead of opening BlueStacks itself and then opening Tachiyomi. For a more detailed guide on setting up Tachiyomi on your PC, check out this Tachiyomi on PC guide.
Points:
- Use the desktop shortcut to launch Tachiyomi directly.
- Saves time by skipping emulator startup.